Eagle clone
-
I don’t understand why you have had any problems at all with the FL Model Cloner. It always works for me and is literally 2-5 minutes of work to rename the meshes, groups and textures and produce the new mat and cmp files?
Then the sur is exactly the same too if all you want is the same size ship with new colour scheme?
Or is my mind getting foggier by the day?
-
Regarding the exporter’s “Scale Down” value - it is a divisor, not a percentage. That is, 92 means X / 92, Y / 92, Z / 92, so 100 will actually make it smaller. What you want is 1, to preserve the existing size. There’s also a bug where it won’t actually use the value you give it, so you must save and load the settings. (I believe the original reason for the scale in the first place, was due to the original author importing Starlancer ships, which needed to be resized for export to Freelancer.)
-
This thing sometimes rly can go on nerves.
OK! The new eagle is finally operational. Even his wings cant be broken/lost dont matter he will have strong armor anyway. The original behaves like it should/did.About MS cmp export resize thing - I played a lil and got I think identical size with this setting:
- resize before export 88 88 88
- export with 92 default
(with 100 up, than 100 down - Eagle is bigger in game)
@ StarTrader - I have v1.1.1 b20 Fl Model Cloner which fails to produce valid cmp. Simply in HardCMP preview is blank! Can u make one with new names for preview?
BTW it will not be same as mine cose my parts use separate texures (left wing not same as right wing and top fin his own, …).After all this my frustration again begun!
In process of updating .mat file with new fixed textures trough UTF Editor simply my dds cant be clean anymore! The old files was made with diff. v. plugin with this settings used with no problems.
Using new shown in above post with next settings I got this:
DXT3/Alpha
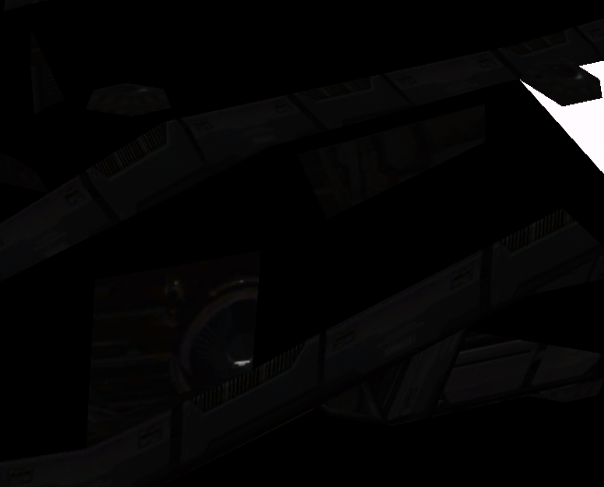
DXT1/No Alpha
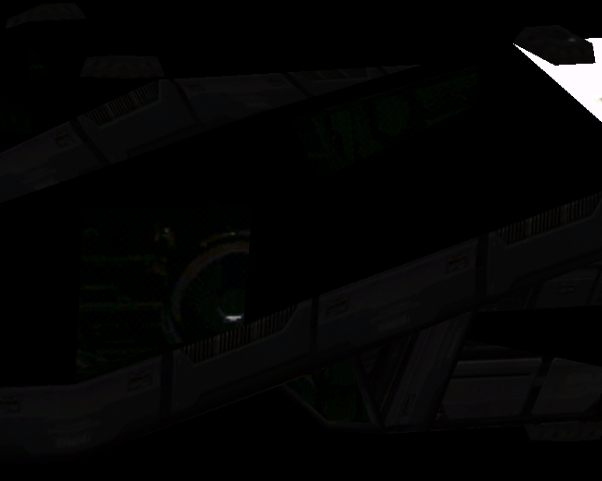
@ Gibbon (or anyone else) - May I ask you to save me this psd files in attachment to correct dds formats?
I rly like this forum and watching all development u masters do.
God bless u all! -
-
I was finally curious enough to give it a go myself, so here’s a different approach. This is the bare minimum to enable separate textures just for the wings.
1. Copy cv_vheavy_fighter.* to sheriff_cv_vheavy_fighter.*. Surs work on object names, so it remains unmodified, but the file is taken from the .cmp, so it needs to be copied.
2. Use UTFXML (extract includes) on sheriff_cv_vheavy_fighter.cmp.
3. Use a text editor to replace every data.ships.civilian.cv_vheavy_fighter.cv_vheavy_fighter with data.ships.civilian.cv_vheavy_fighter.sheriff_cv_vheavy_fighter in sheriff_cv_vheavy_fighter.cmp.xml.
4. Replace cv_star_wing_lod1020911030058 with sheriff_cv_star_wing_lod1020911030058. Similarly with port.
5. Having already viewed the model in Milkshape, I know the texture for the main part of the wing is g_fighter_G. Using the start mesh within each wing’s level, find the texture in the associated sheriff_cv_vheavy_fighter_cmp/lod*.xml file. Replace it with sheriff.main_{left,right}_wing (from sheriff-eagle_skin.mat in sumanuti’s original attachment).
6. Use XMLUTF to convert back to .cmp.
7. Duplicate the ge_fighter6 shiparch entries. Prefix sheriff_ to the nickname and DA_archetype; add the new material library.
8. That’s it. Attached is the new .cmp and a screenshot, showing the Eagle on the left and the Sheriff version on the right (where I duplicated suprise_ge_fighter6 in solararch.ini). I shot off the wings to show you can.
-
TheDvDMan wrote:
FriendlyFire wrote:
Never do that, DvDMan. You’ll get CRC conflicts all over the place.Oh thats why it didn’t work when I tried to enter 2 Order ships MATs! Hmm… seems I’m gonna have to make another Osiris.
@sumanuti: Won’t it be easier to use Tagra?
Using TGA’s is not easier. For a start you have to flip the texture to get it to work, second, it creates a mat file that is outrageous in size compared to a dds texture mat file.
@sumanuti
The textures are nearly all black, one of them i can’t open (sheriff_body_edge.psd). I don’t know if they are supposed to be so dark, i can’t make out anything in them
-
@ Gibbon The truth is they r nearly all black! I started with bright textures and going down with Brightness tried to make them nearly same as pure black where I ended at this point.
Looking at this thread I assumed its connected with Dc/Dt_flags where by me no success was made.For them to not look sharp in space is the problem they r 8 Bits/Chanel ?
I know the resolution is small but if sharpness will be corrected by rising it, I try.Here is single layer .psd file u cant open, so just save them with ur .dds settings u use to try!
What a mess with this thread :roll:
-
adoxa wrote:
5. Having already viewed the model in Milkshape, I know the texture for the main part of the wing is g_fighter_G. Using the start mesh within each wing’s level, find the texture in the associated sheriff_cv_vheavy_fighter_cmp/lod*.xml file. Replace it with sheriff.main_{left,right}_wing (from sheriff-eagle_skin.mat in sumanuti’s original attachment).Please, can you peak what Im doing wrong here?
After renames data.ships.civilian.cv_vheavy_fighter.cv_vheavy_fighter (30 times total) in sh…cmp.xml and cv_star_wing_lod1020911030058/cv_port_wing_lod1020911030058 (3 times each total)
I change lod.*.xmls like this?
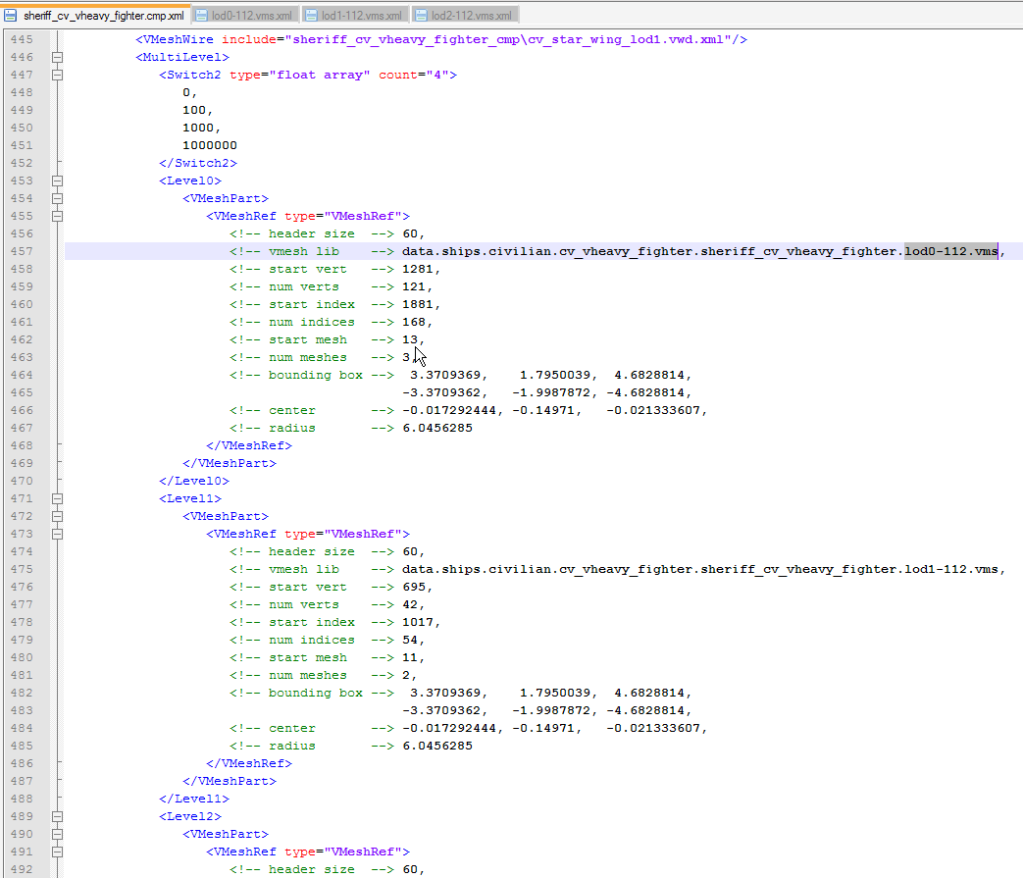
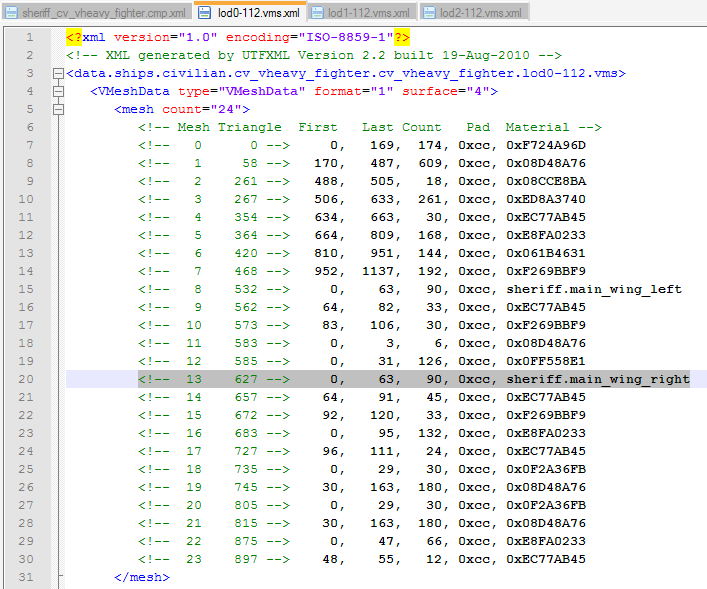
And why I have edges textured - not wings?


 U R A GOD!