Alucard's starsphere cube tutorial.
-
Part two
1. Now close your default image, its not needed anymore. Create a new image like before, only this time
you have to do something a little different. This part can be tricky, so follow as best you can:1b. Since my image original size was 1024x1024, I must make a new image the size for a cube, it is 4096x3072.
Basicaly I made it big enough to fit four textures wide and three high.2. Copy the texure you made and paste it in the new area, (best if you make the 1st layer black, then add
your texture) like so. you should get something like this.http://i113.photobucket.com/albums/n240/Alucard1_01/Tut/6.png
3. Dupilcate your textures, (six times) and arrange them like so. It suould look like a cross sideways.
http://i113.photobucket.com/albums/n240/Alucard1_01/Tut/7.png
4. Here comes the hard part, I will try and explain as best I can. Time to figure out what maps what. I’ve
number the areas. The following numbers are what map area they cover. 1 = top 2 = bottom 3 = left 4 = back
5 = right 6= fronthttp://i113.photobucket.com/albums/n240/Alucard1_01/Tut/8.png
5. Not needed, just keep following along, actually I didn’ do anything yet, lol.
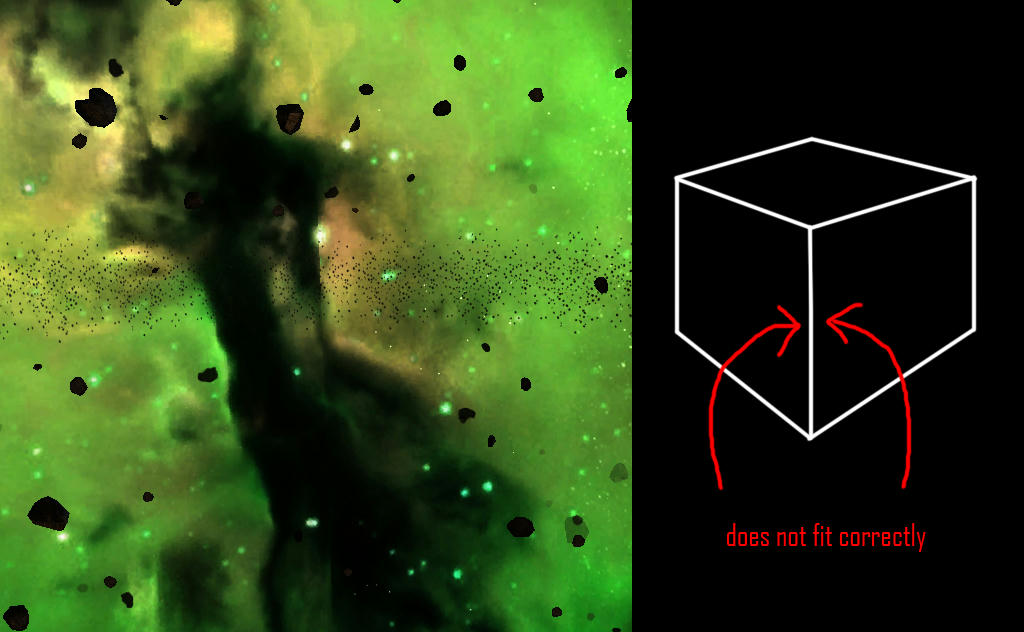
6. Now for the trickest part. If you were to just map these layers to a cube, all would look fine except for
the top and bottom. The textures for top and bottom would only match on one side. Heres the fix, so follow
closely.7. Texture 1, which is the top map, has only one side that matches. That match is at the bottom of texture 1 (top)
and texture 4 (back) which is the top of that texture. Seen in th circle.8. You need to make the sides and top of the top texture (1) match the tops of (3) (5) and (6). Heres how to do it.
http://i113.photobucket.com/albums/n240/Alucard1_01/Tut/9.png
http://i113.photobucket.com/albums/n240/Alucard1_01/Tut/10.png
9. Take the rectanglur tool, copy the top of textures 3 (which is the left mat side), paste it, and rotate it
verticaly, and move it to the top of texture 3, like so. Must be exactly the right size or you see some errors in game.10. Now you have one part for the top (1). But wait, it looks mirrored. Heres another fix. Merge those layers
together. Using the healing tool again, clean up the spot where they meet. Should get something like this.http://i113.photobucket.com/albums/n240/Alucard1_01/Tut/15.png
11. Using the rectanglur tool and the tops of (5) and (6) make a box like so. (make sure you on the (3) texture)
Copy this area, and paste it. Move it up and out of the way. Using the rectanglur tool again, selct that area again
and delete it. (make sure to be on (3) when deleteing)http://i113.photobucket.com/albums/n240/Alucard1_01/Tut/12.png
12. Select that area you copied (the layer) and rotate it 90% clockwise.
13. Move it to over top your top mat (1) like so. Make sur the edges are perfectly lined up.
http://i113.photobucket.com/albums/n240/Alucard1_01/Tut/13.png
14. Now merge those layers together and use the healing brush again. You shoud end up somthing like mine if you did
it right.http://i113.photobucket.com/albums/n240/Alucard1_01/Tut/14.png
15. Do the same with (5) and (6) amke sure where they’d meet the top (1) is correct. Then do the same for (4) matching
everything up right.16. If done right, you’ll have a complete map for a cube with no seams. Good Luck.
–--------------------------------------------------------------------------------------------------------------
End of part 2 of tutorial, see you for part 3.
Cheers
-
Here is an indepth tutorial for creating custom plant textures.
http://freelancer-swwt.com/Forum/index.php?topic=2647.msg18512#msg18512
-
can wait for part 3 thanks Al
-
@Forsaken, Thank you! And a really tried this tut and Alucard one, but i still got problem on making texture seamless.
I’m not working on planet texture right now, im actually making starphere, i already worked a good and pretty nebula art long before so i want to add it to my game but i can’t made it any way.
I think that’s because don’t know how to create a cube like starsphere. I tried use box then soomth, deattach every face, texture it……i already know this is the wrong way… but… where is the right way?

Texture

-
There’s an easy way to render your cubic maps from a sphere in 3ds without having too much trouble aswell
You just add the texture you want cubed to a sphere in the middle of your scene. Add a box inside the sphere, you then add a reflect/refract map to it and render like in the video i’ve posted.
With the new exporter being able to export the Alpha values of the verts aswell you can add pretty much any texture to the 6 sides and even if they don’t match. With a bit of vert painting in 3ds(you can find a million tutorials online about this in 3ds) You can blend the seems to look perfect.
I made a couple of errors at the end of this vid when i was opening the textures to view them but bah, can’t be arse recording it again so tuff titties.
P.S The textures a shocker I know. But it was just as quick of an example as possible.
-
Good luck with this one Hunor, had the same problem when I tried converting all the cube maps from Spaceforce rogue universe to freelancer, didn’t quite line up and I couldn’t fix it. Also, for some reason, although they were high res textures 2048x2048 each face, they looked nowhere near as good in freelancer as spaceforce, not sure cubes are the way to go. Hope you can paint well if you’re making your own, because just trying to dump images of nebulas etc onto faces doesn’t work well, especially if they’re centre of each face.


